What to Do If Your Bridesmaid Dress Arrives and Doesn’t Fit
What a fit problem means
When a bridesmaid dress arrives and doesn’t fit, the problem is usually one of three things: the size is too small, the size is too large, or the fit is technically correct but the dress needs tailoring to sit properly on the body. In wedding planning terms, that is not a disaster — it is a normal part of the process, especially when dresses are ordered online or for a mixed bridal party.
The first thing to do is stay calm and check the exact issue. Is the dress tight at the bust, loose at the waist, too long in the hem, or simply not shaped the way the wearer expected? Those details matter because they determine whether the solution is a quick exchange, an alteration, or a styling adjustment. A dress that only needs a hem and a strap tweak is a very different situation from one that is several sizes off.
This is why a solid bridesmaid dresses shopping plan matters from the start. The more time you allow for ordering, the easier it is to fix problems without creating stress for the whole bridal party. If you are still comparing styles, the blog can help with planning, and the homepage is the quickest place to jump back into the full range.
Fit issues also happen more often when people rely on their usual clothing size instead of the brand’s measurement guide. Bridal sizing is not always aligned with street sizing, and formal wear often includes less stretch and less forgiveness than everyday clothes. That is normal — and exactly why measurements, not assumptions, should guide the order.
For broader context, reputable wedding resources like Brides, The Knot, and Harper’s Bazaar Bridal are helpful for understanding common bridal-party fit issues and timing.
12–9 Months Before: Start Browsing
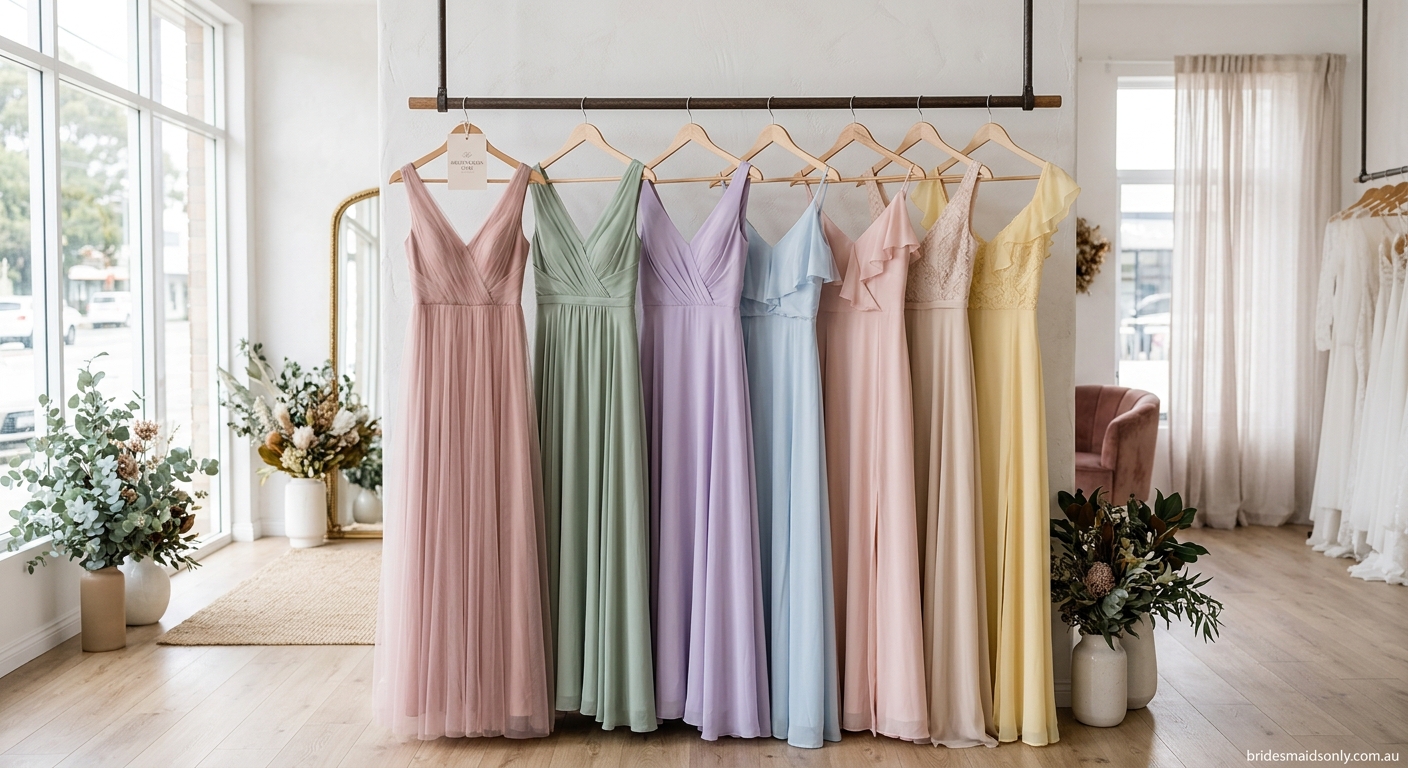
The best way to avoid a bridesmaid dress that doesn’t fit is to start early enough that you have options. Twelve to nine months before the wedding gives you time to compare silhouettes, check sizing information carefully, and choose a dress that works for both the aesthetic and the body wearing it.
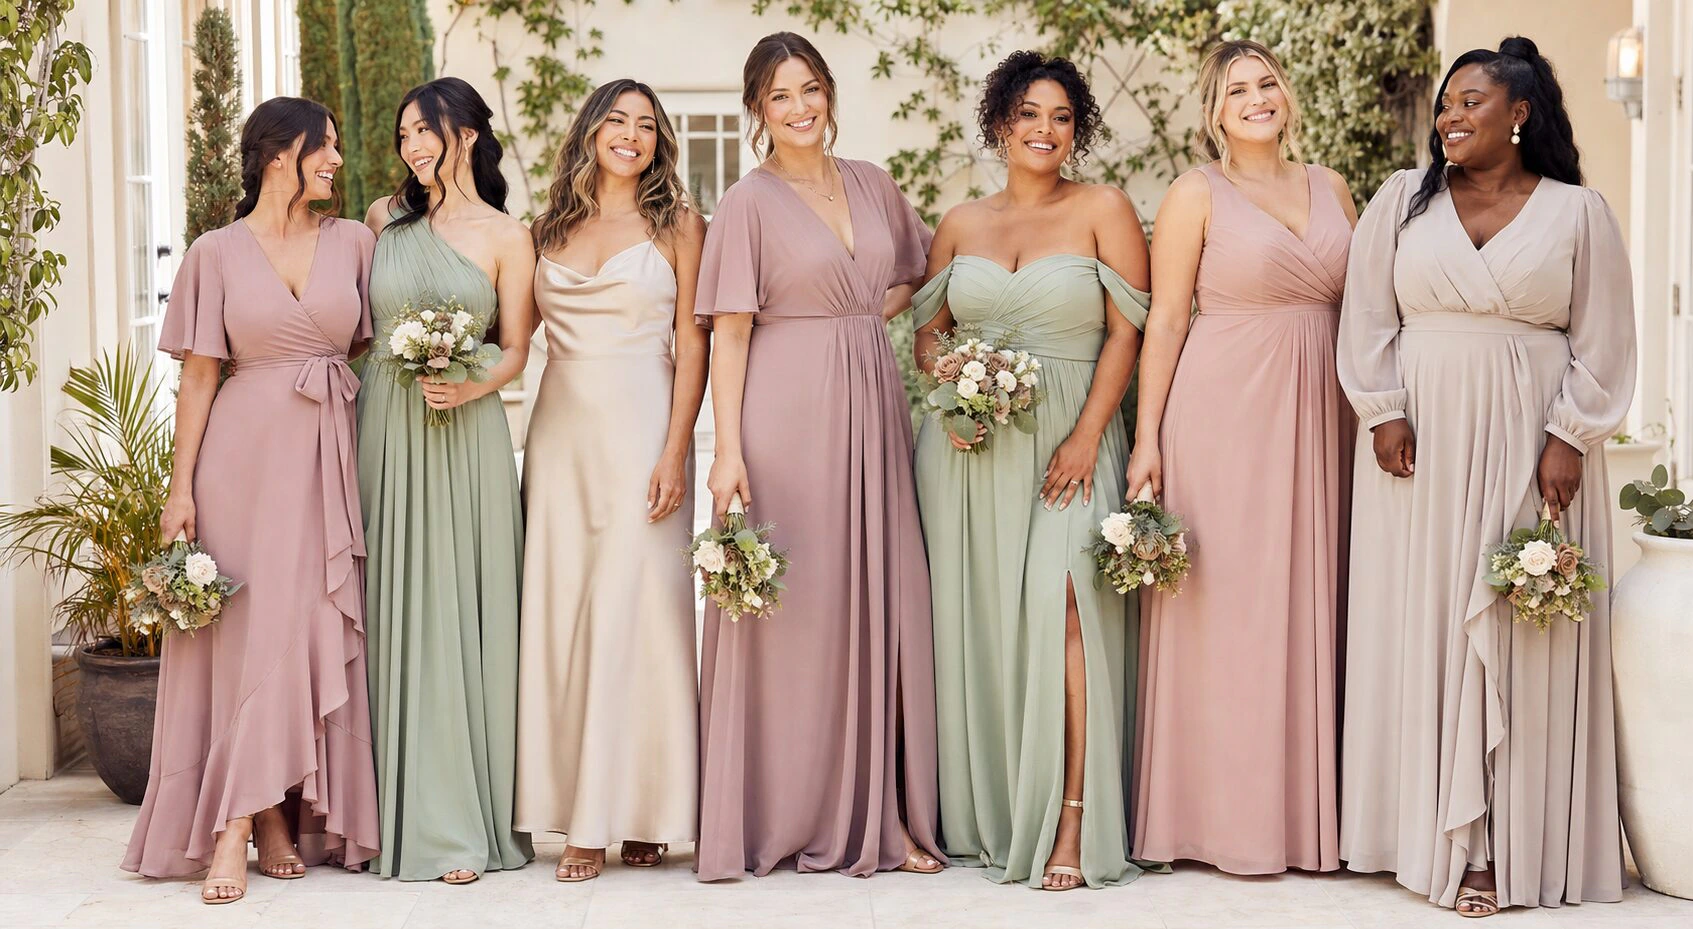
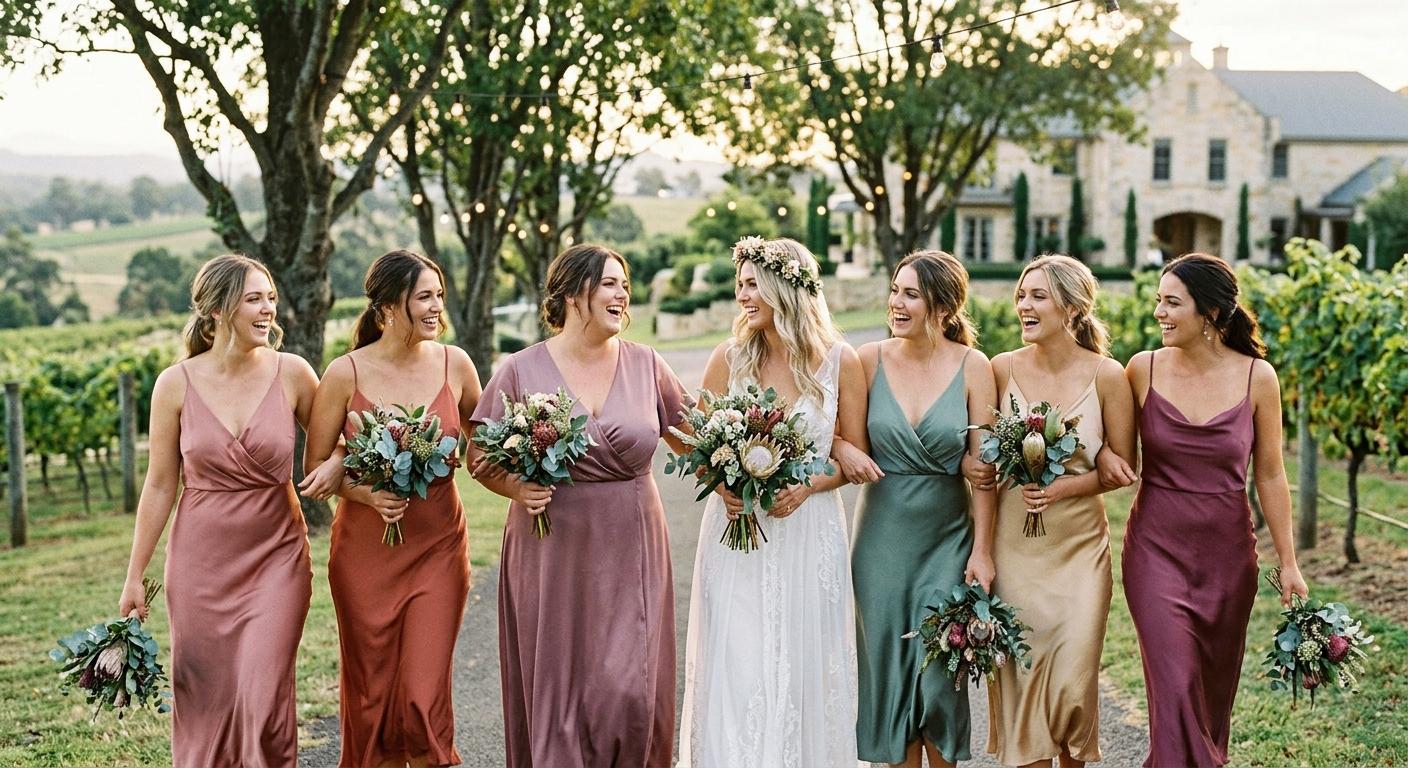
Begin by thinking practically. Are the dresses being worn indoors or outdoors? Is the wedding in a hot climate, a cooler season, or somewhere that needs more flexible styling? If the bridal party includes different heights, body shapes, or comfort preferences, those needs should influence the shortlist from the beginning. It is much easier to choose a style that can be adjusted well than to force a trendy dress into the wrong fit later.
At this stage, build a small list of options instead of locking into one choice too fast. The goal is to give everyone enough visual and practical information to make an informed decision. If a style looks beautiful but is clearly unforgiving through the waist or bust, that is a sign to keep looking rather than hope for a miracle alteration later.
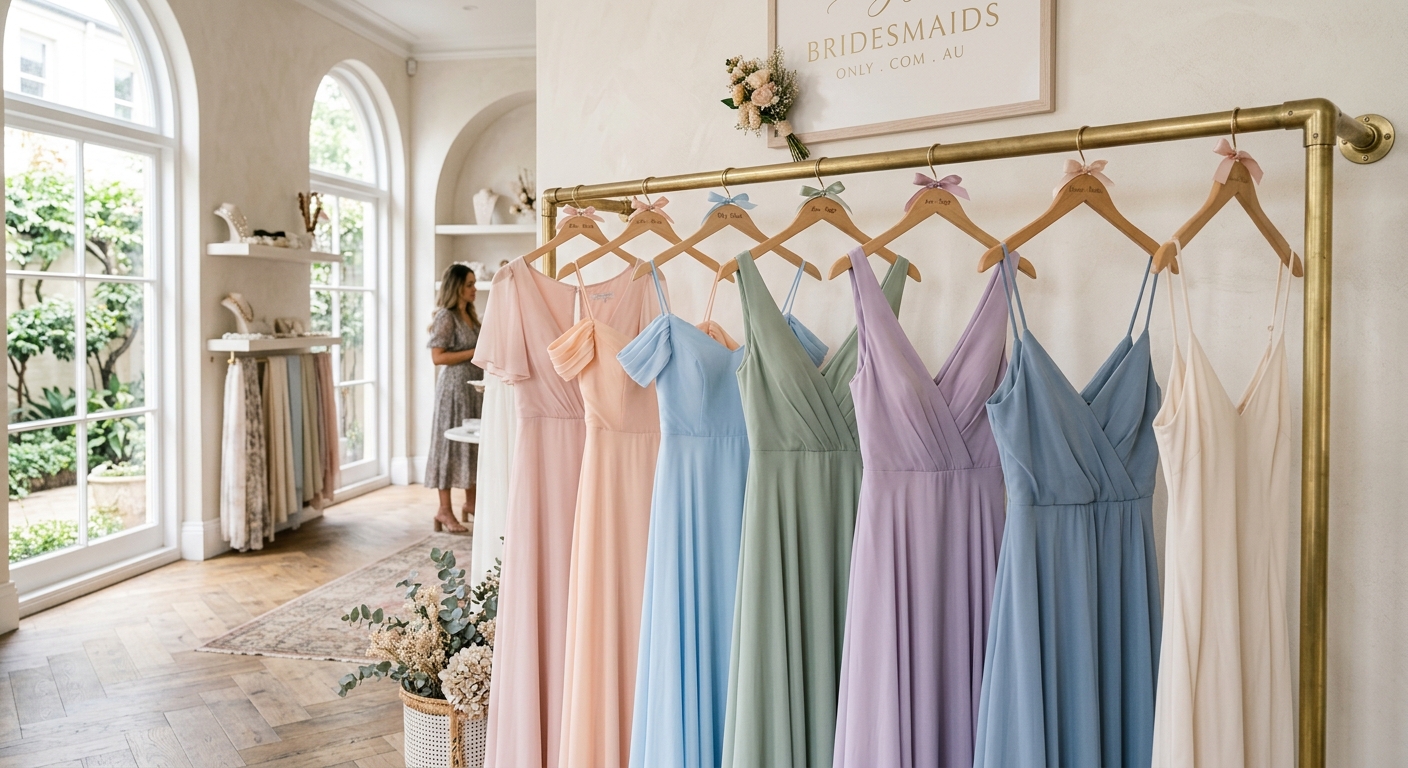
It also helps to make the shopping process collaborative. Bridesmaids are more likely to feel comfortable if they know why a style was chosen and how it will be fitted. That openness matters when the final dress has to travel, be stored, or be altered by someone local. If you need a central place to compare options, shop all is a good starting point, and about us helps explain the brand’s direction.
Good fit decisions are easier when the bridal party treats the dress as part of the full wedding plan, not a last-minute add-on. If you are still shaping the look, keep the venue, weather, and footwear in mind so the dress works with the event rather than against it.
8–6 Months Out: Place Your Order
Ordering six to eight months before the wedding gives you a comfortable buffer for delivery, swaps, and any first-round fitting issues. That window matters even more if bridesmaids are ordering from different locations or need their dresses shipped to a central address for coordination.
Before placing the order, take the measurements properly. Use the brand’s sizing guide and do not rely on regular clothing sizes as a shortcut. A dress that is one size too small can create unnecessary stress, while a dress that is slightly generous can usually be altered with far less drama. In bridal wear, it is often safer to leave room for tailoring than to gamble on a close fit that leaves no adjustment space.
If the dress arrives and doesn’t fit, your next move depends on timing. If there is still time in the schedule, an exchange may be easier than altering the garment into shape. If the wedding is closer, a tailor can often save the day with targeted changes like taking in seams, adjusting straps, shortening hems, or refining the bust. The key is to know which route makes sense before you do anything irreversible.
It is also worth checking the retailer’s return and exchange policy before you click order. Some formalwear has stricter rules than everyday clothing, and destination weddings or group orders can make deadlines tighter than expected. Knowing the policy in advance turns a potential panic into a manageable admin task.
Keep the rest of the bridal party styling simple at this point. The more people change shoes, accessories, or colour preferences after the dresses are ordered, the more complicated the fitting process becomes. If you want to keep things easy to navigate, return to bridesmaid dresses for the main collection and the blog for practical wedding guidance.

4–3 Months Out: Fittings and Alterations
Four to three months before the wedding is the ideal time for the first real fitting. By then, the dress should be in hand, there is still enough time to make changes, and any problem areas can be fixed without rushing. This is where you move from “does it fit?” to “how do we make it perfect?”
If the dress is too small, first check whether a different size is available. If not, a tailor may still be able to let it out slightly, depending on the seam allowance and fabric. If the dress is too big, alterations are usually more straightforward. Taking in a waist, shortening straps, or lifting a hem can make the entire garment feel more polished and secure.
The most important thing at this stage is to be honest about the fit. A bridesmaid who says “it’s fine” when it is actually pinching at the ribs or sliding at the bust is setting herself up for discomfort on the wedding day. The fitting should be practical and specific. Sit down, move around, lift your arms, and check whether the dress still works in motion, not just standing in front of a mirror.
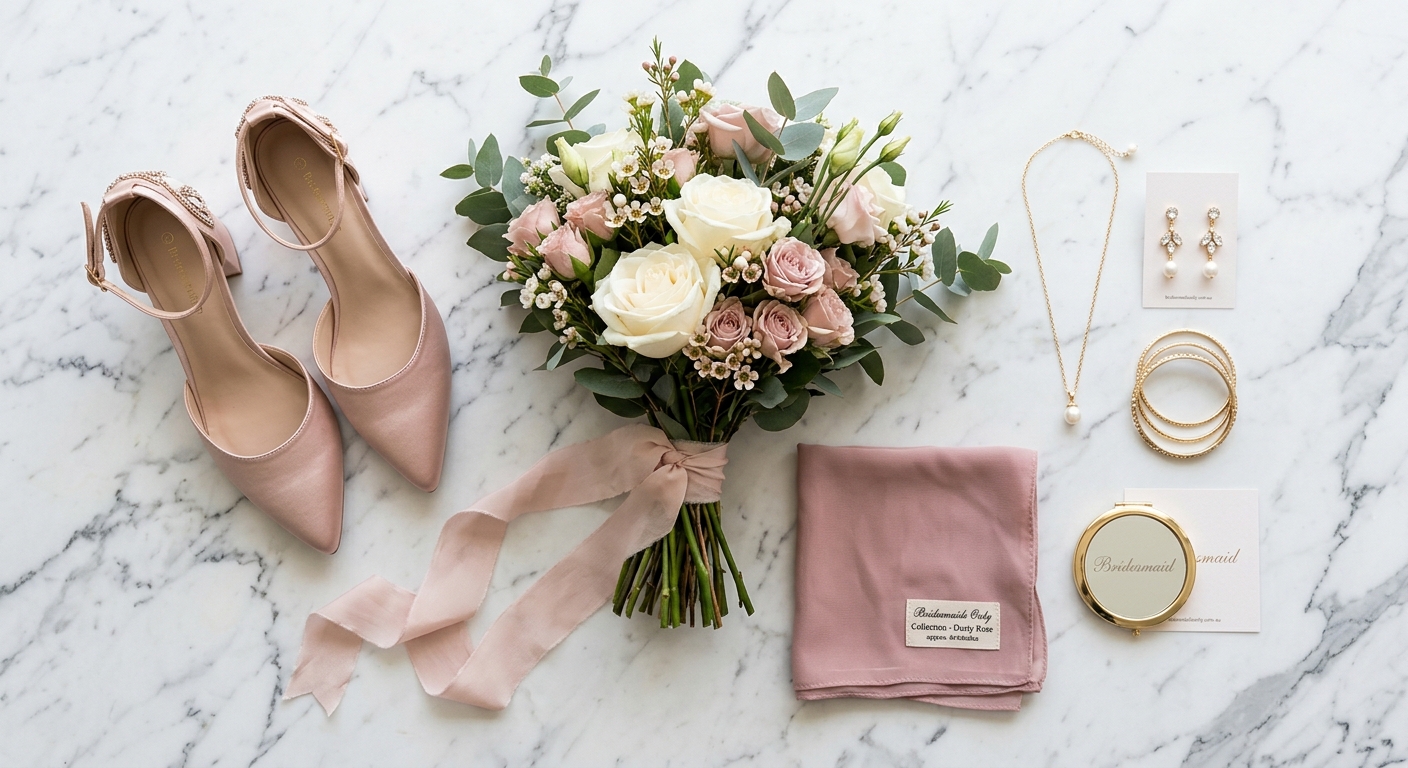
This is also when the bridal party should coordinate shoes and undergarments. A dress can appear to fit badly when the wrong bra, heel height, or shapewear is used, so test the full outfit before assuming the garment is the problem. Sometimes the fix is the dress; sometimes the fix is everything around the dress.
At this point, it is helpful to choose a local tailor with formalwear experience. A dress that needs structural help should be handled by someone who understands delicate fabric, lining, and drape. If you want to keep the brand close while you compare options, shop all and about us are still good reference points.
For outside advice on formalwear fit and bridal timing, use trusted planning sources such as Brides’ wedding party guidance and The Knot’s bridesmaid dress tips.
2–1 Months Out: Final Fittings and Accessories
By the time you reach the final month or two, the dress should no longer be a mystery. This stage is for refining the fit, confirming the accessories, and making sure the look is stable enough for the wedding day. If something still feels off, you need to identify that now rather than hope it improves on its own.
Bring the actual shoes, jewellery, and underlayers to the final fitting. A hem can look ideal with one heel height and awkward with another, and a neckline can sit differently depending on the support underneath. If the dress arrived and didn’t fit at all earlier, this final pass is where you confirm the fixes really worked.
This is also the time to test movement. Walk, sit, dance, and raise your arms. If the dress pulls, slips, or rides up, there is still a narrow window for small changes. The final goal is not just an attractive fit — it is a fit that lets the bridesmaid enjoy the day without constantly adjusting herself.
Accessories should be kept simple and intentional. If the dress has already needed alterations, avoid overcomplicating the styling with too many competing pieces. A clear, balanced look is usually better than a busy one, especially in photographs. If the wedding includes travel or an outdoor setting, choose pieces that are easy to pack and less likely to shift or snag.
Use this stage to decide what stays with the dress kit. Fashion tape, pins, a mini sewing kit, heel grips, and stain wipes are small things, but they matter if a zipper catches or a strap shifts. A bridesmaid who knows the backup plan is already more relaxed than one who is hoping for the best.
If you are still comparing styling choices or trying to keep the whole bridal party coordinated, check bridesmaid dresses, the broader collection, and our blog for practical support.
The Week Before: Last-Minute Checklist
The week before the wedding is not the time for major changes. It is the time to check that the dress fits, that the alterations are complete, and that the bridesmaid can travel, move, and celebrate without worrying about the garment.
Do one last try-on if there is any doubt. If the dress still feels too tight, too loose, or oddly shaped, deal with it immediately. Small adjustments can still be made in some cases, but the earlier that conversation happens, the better the outcome will be. If the fit is settled, let it stay settled.
Pack the dress carefully so it is ready for steaming or hanging when you arrive. If the wedding involves flying, long car travel, or overnight accommodation, protect the garment from creases and make sure someone knows where it is going. A ruined hem or a crushed bodice is usually preventable with a bit of organisation.
It also helps to create a tiny emergency kit for the bridal party. Tape, spare safety pins, a needle and thread, a lint roller, and stain remover can save time in the final hour. None of these items should be needed in an ideal world, but weddings are not ideal worlds — they are busy, emotional, and full of moving parts.
Check the weather, check the timing, and check the role each bridesmaid is playing. Who has the dress steamer? Who is carrying the accessories? Who is doing the final mirror check before everyone leaves? Those little assignments stop avoidable chaos from turning into the main event.
Once the dress has been fixed and the fit is confirmed, the best thing to do is stop fussing. Over-checking creates more tension than it removes. A calm, finished dress is the goal, and confidence matters more than second-guessing at this stage.
A good dress fit is one of the quiet wins of wedding planning. It does not draw attention because everything simply works. That is exactly what you want when the day finally arrives.
Frequently Asked Questions
How far in advance should I order bridesmaid dresses?
A safe target is 8–6 months before the wedding, with even more time if the bridal party is spread out or the dresses need complex alterations. That buffer helps if a bridesmaid dress doesn’t fit and you need time for an exchange or tailoring.
Can I rush-order a bridesmaid dress?
Sometimes, yes — but rush orders should be treated as a backup, not the main plan. They can cost more and leave little room to fix fit problems, which is risky when the dress still needs alterations after arrival.
How many fittings do bridesmaids usually need?
Most bridesmaids need one or two fittings depending on the dress style and how much tailoring is required. Structured gowns often need a second check after alterations, while simpler styles may only need a careful first fitting and a final try-on.
What if a bridesmaid is pregnant or might change sizes?
Choose a style with a little flexibility and plan for later adjustments rather than forcing an early final size. It is usually smarter to size for the larger measurement so the dress remains comfortable and can be altered closer to the wedding if needed.